CNC automotive mold machining is a key process in making high-quality injection molds for car parts. These molds help produce plastic components like dashboards, bumpers, interior panels, and more. With CNC (Computer Numerical Control) technology, manufacturers achieve very high precision, faster production, and lower costs compared to old methods.
This guide explains the main steps in an easy-to-read way. It covers design, machining, testing, and common questions. The focus is on CNC automotive mold machining and CNC machining for automotive molds — two very similar terms that describe the same high-precision work.
Why CNC Machining Matters for Automotive Molds
Modern cars need lightweight, strong, and complex plastic parts — especially in electric vehicles (EVs) and smart cars. Traditional hand-making or simple machines cannot handle the tight tolerances (often ±0.005 mm) or complicated shapes required today.
CNC machining solves this by using computer-controlled tools. It delivers:
- High accuracy — parts fit perfectly every time.
- Repeatability — thousands of identical molds possible.
- Speed — reduces production time significantly.
- Cost savings — less waste and fewer errors.
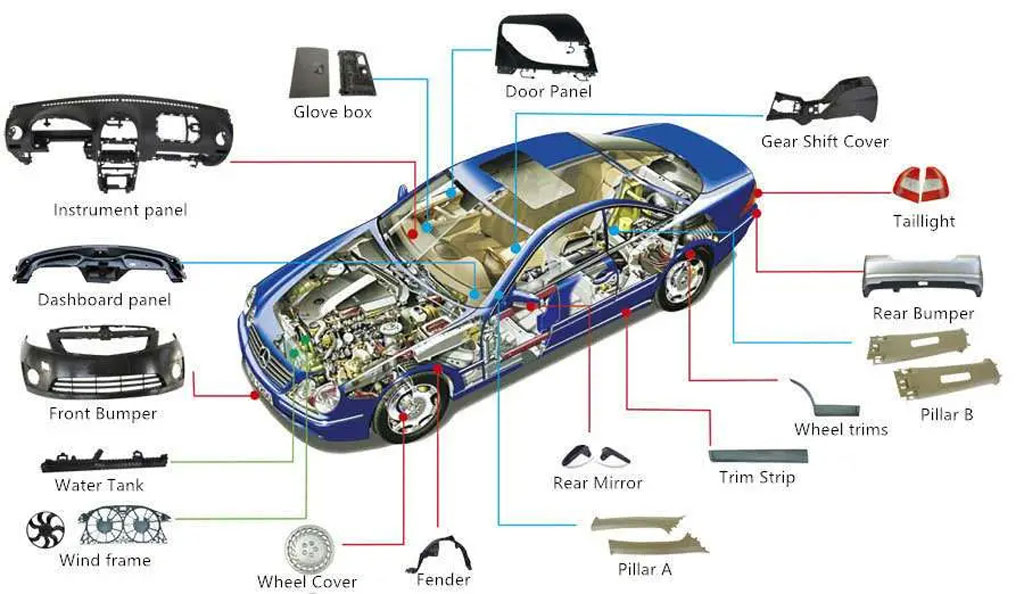
Typical automotive parts made from these molds include:
- Door panels
- Instrument dashboards
- Bumpers and grilles
- Lamp housings
- Interior trims
Here is an example showing common automotive plastic parts produced by injection molding:
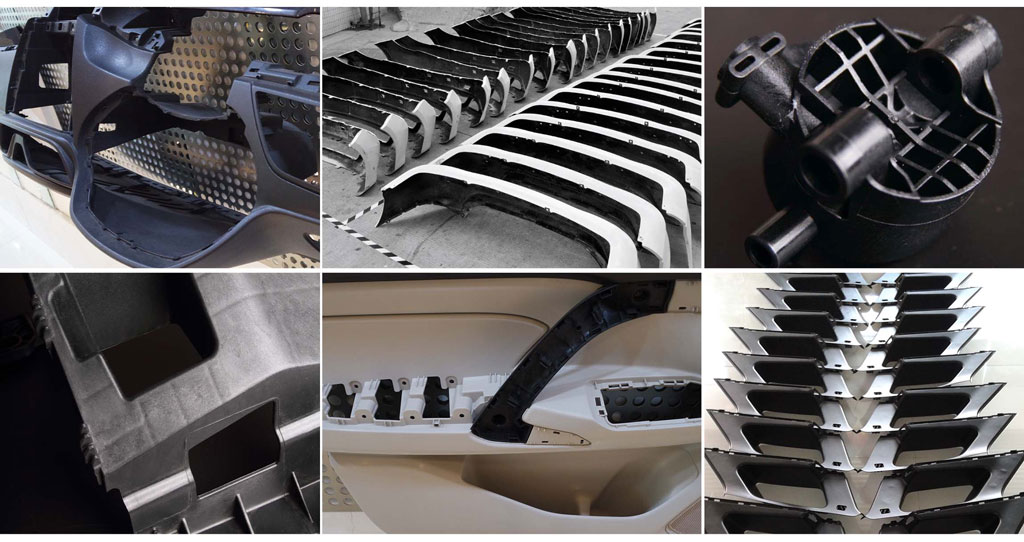
And here are real examples of finished automotive injection-molded components:
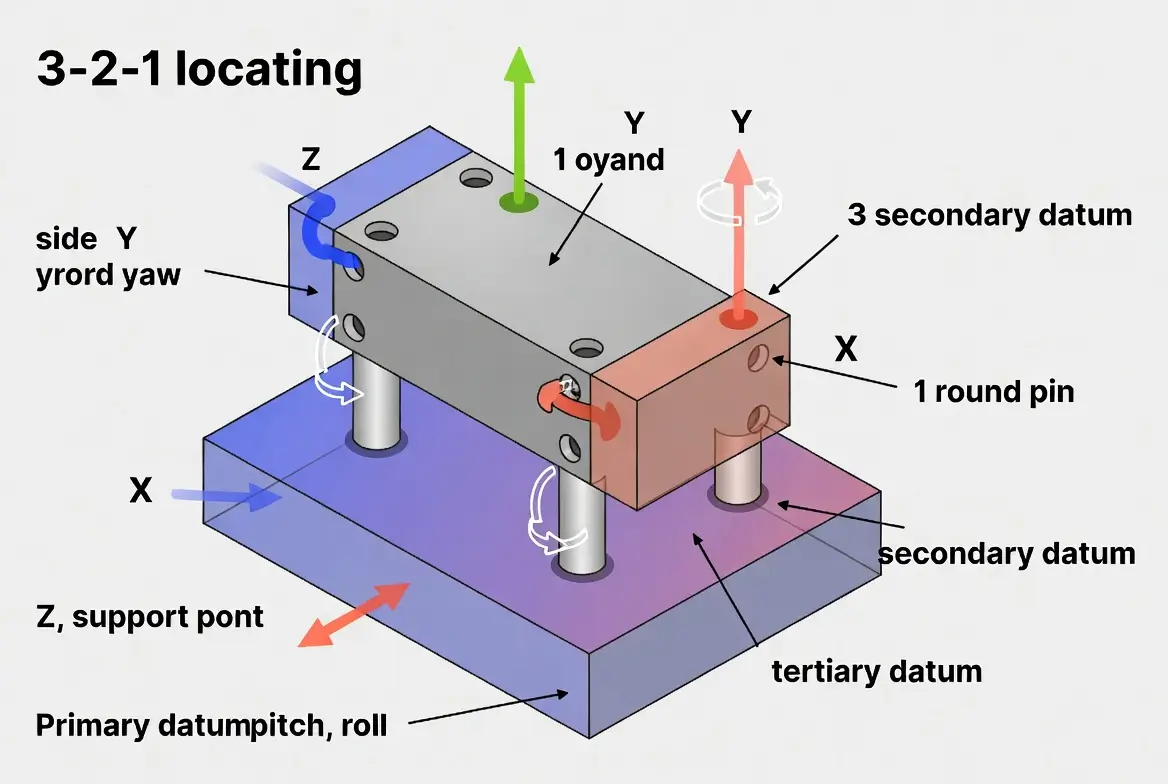
Step 1: Mold Design and Simulation — Getting It Right First
Everything starts with a good design. Engineers use CAD software (like UG, SolidWorks, or CATIA) to create a 3D model of the mold.
Important parts of the design:
- Core and cavity — the two halves that shape the plastic part.
- Parting line — where the mold splits.
- Cooling channels — to control temperature and prevent warping.
- Gates and runners — paths for molten plastic to flow in.
Before building anything, simulation software (like Moldflow) tests the design virtually. It predicts:
- How plastic will flow.
- Where cooling might be uneven.
- Possible defects like sink marks.
This step saves time and money by fixing problems early. Good simulation can cut trial-and-error by 30% or more.
Material choice is also decided here:
- H13 tool steel — very durable for high-volume production.
- P20 pre-hardened steel — good balance of hardness and machinability.
- Aluminum — faster and cheaper for prototypes or low-volume runs.
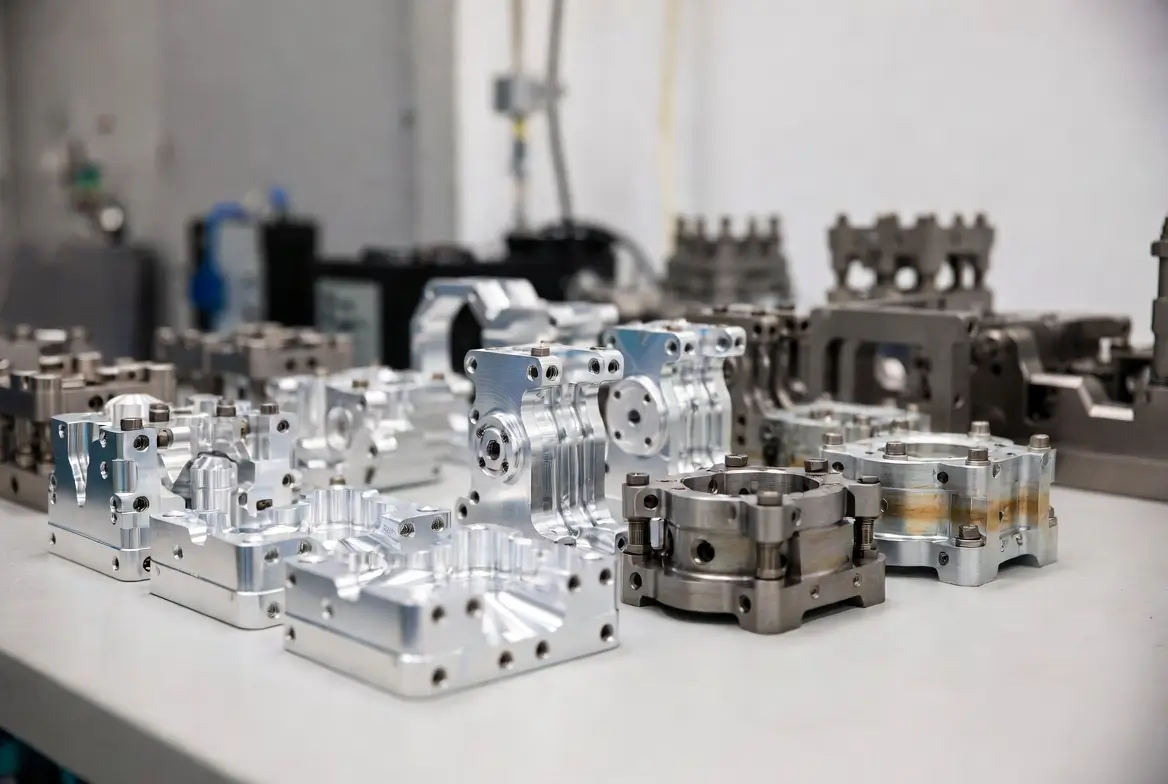
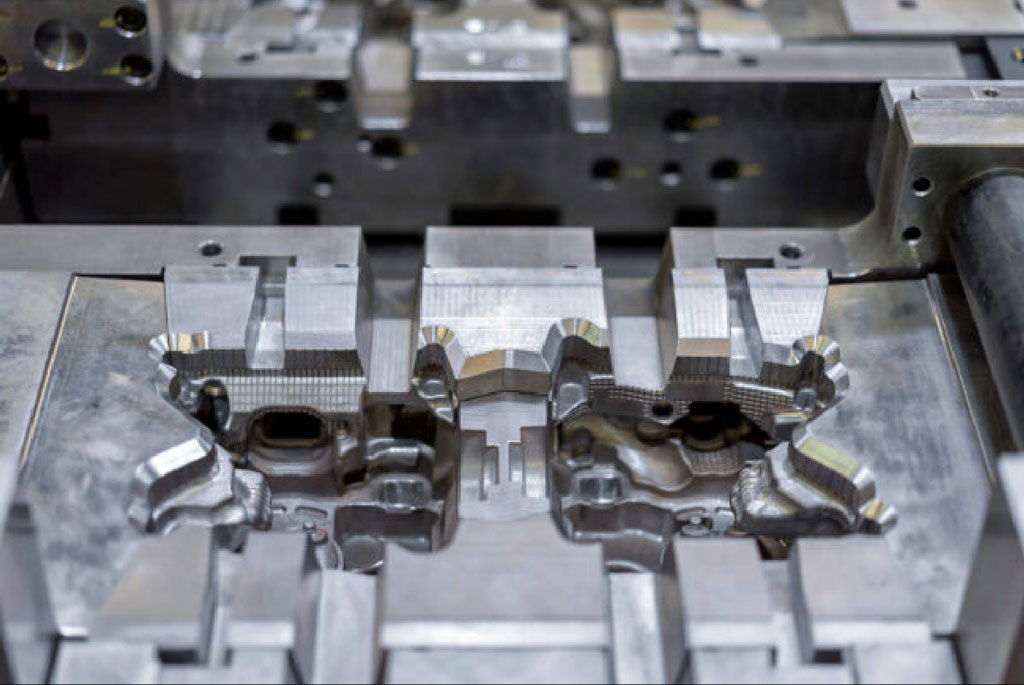
Here is a close-up of precision-machined tool steel for an automotive mold:
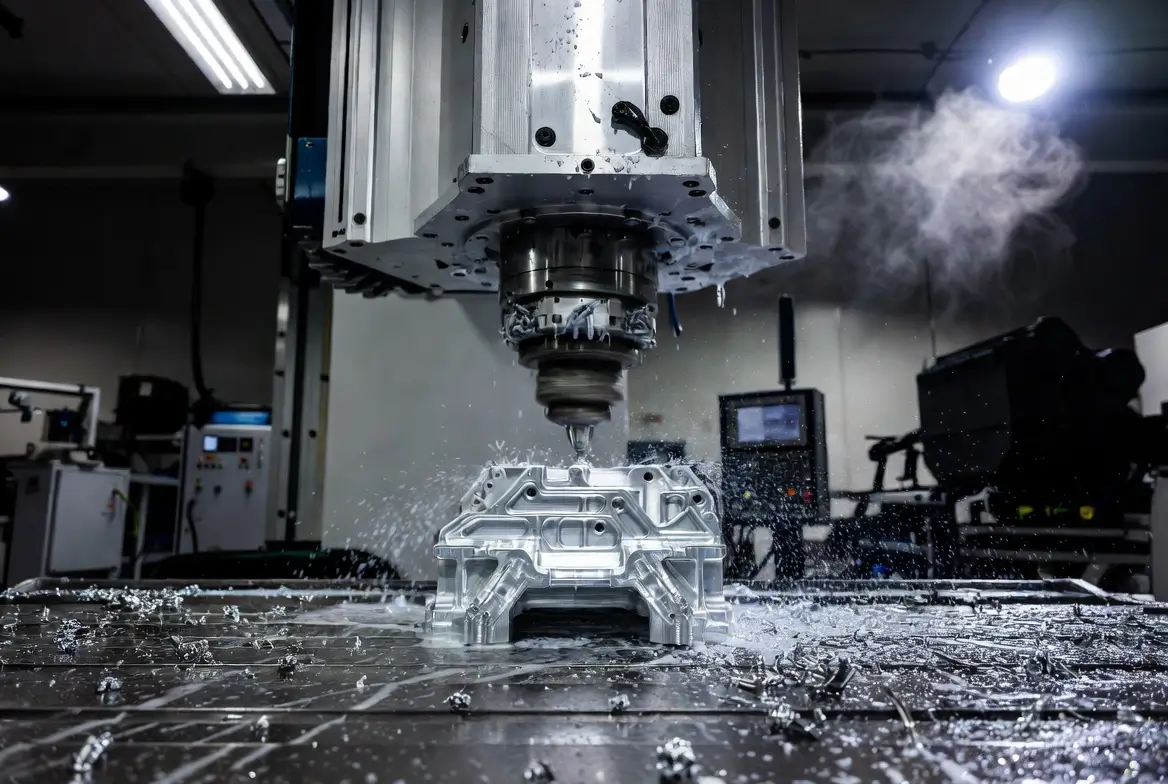
Step 2: Precision CNC Machining — The Core Process
This is where the real magic happens. 5-axis CNC machines are the most common choice for automotive molds because they can move the tool in five directions at once. This allows cutting complex curves, deep pockets, and undercuts without repositioning the workpiece.
Key benefits of 5-axis CNC:
- Handles complicated shapes easily.
- Achieves mirror-like surface finishes.
- Reduces machining time by up to 20–30%.
- Minimizes errors from multiple setups.
Other supporting techniques include:
- High-speed milling (HSM) — fast spindle speeds (20,000+ RPM) for smooth surfaces.
- EDM (Electrical Discharge Machining)—for very fine details or hard areas that CNC can’t reach.
- Diamond-coated or carbide tools — to handle tough steels without quick wear.
Watch this video to see a real CNC machining process for molds in action:
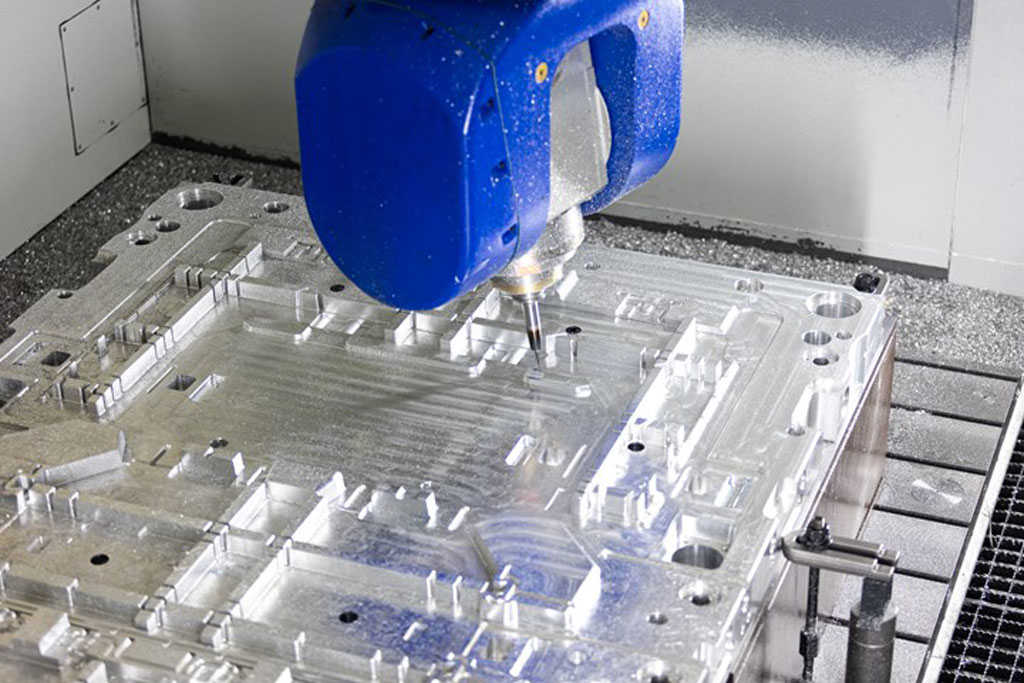
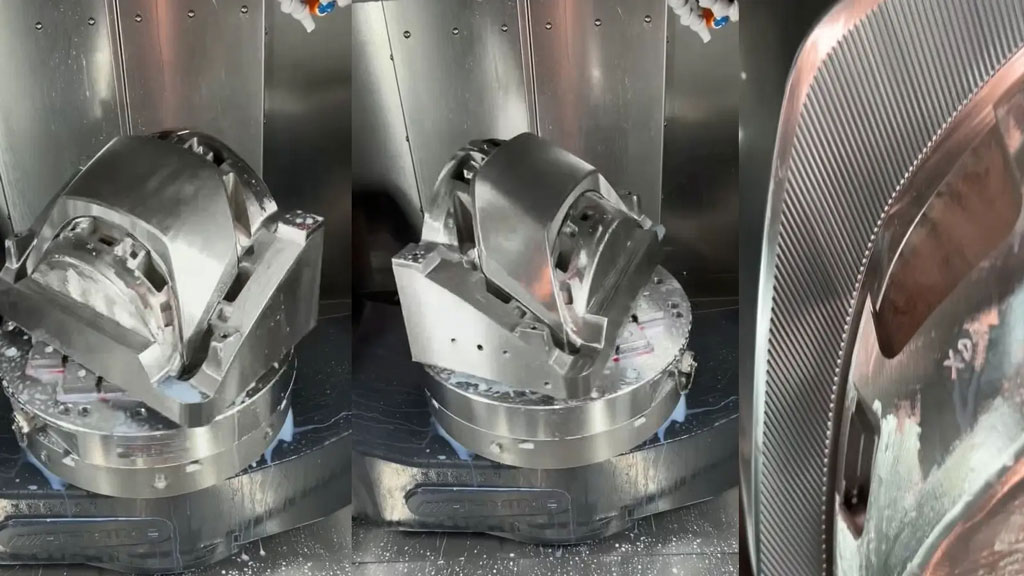
Here is a 5-axis CNC machine actively milling a complex automotive mold cavity:
And another view of 5-axis machining on a large automotive lamp mold:
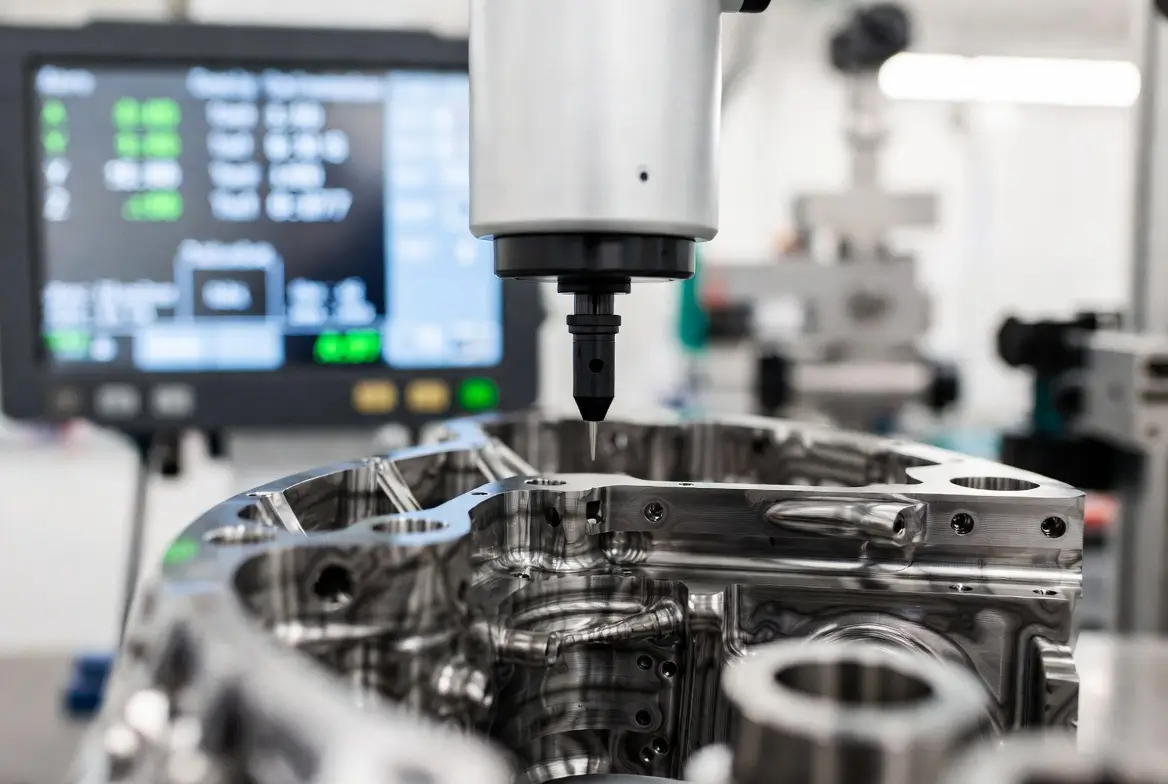
Step 3: Mold Finishing, Testing, and Rapid Prototyping
After rough machining, molds go through the following:
- Polishing — for smooth surfaces (often Ra 0.4 μm or better).
- Texturing — EDM or chemical etching for leather-like or matte finishes.
- Assembly — fitting ejector pins, cooling lines, and guides.
For fast development (especially in new car models), companies use rapid prototyping:
- Aluminum soft molds for quick trials.
- 3D-printed inserts for complex cores.
- Reduced lead time — sometimes just 7–14 days for prototypes.
Testing uses real injection machines with sensors to monitor pressure, temperature, and fill time. AI tools can now predict defects automatically.
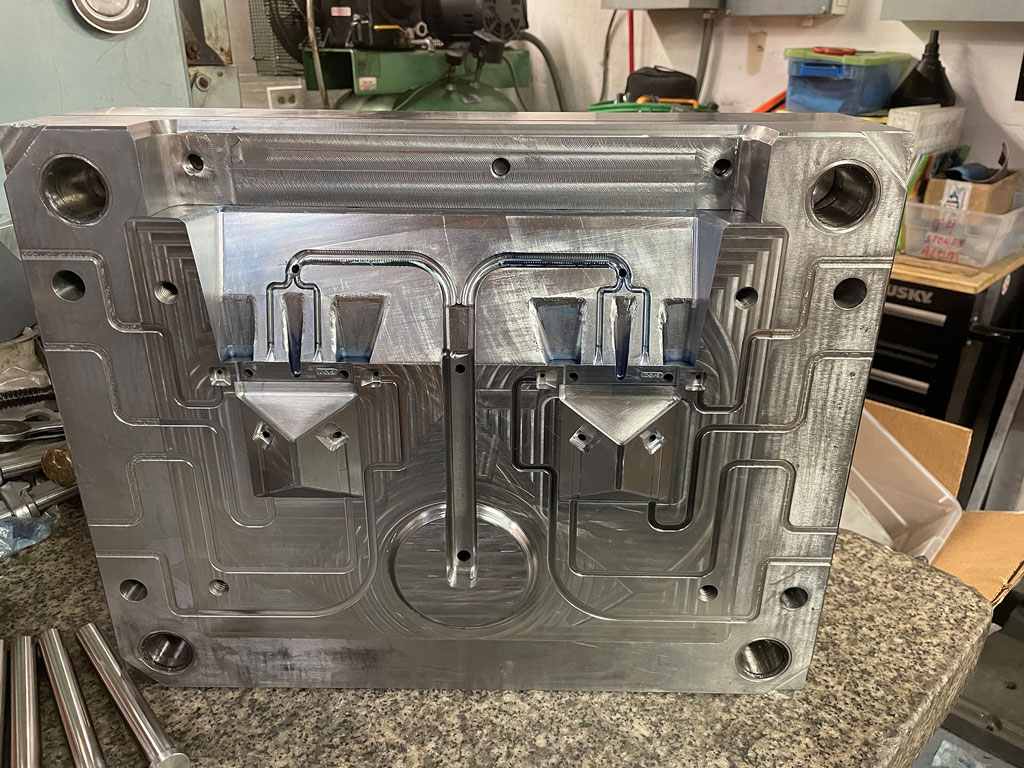
A finished large-scale automotive injection mold ready for production:
FAQs: Common Questions About CNC Automotive Mold Machining
What makes CNC better than traditional machining for car molds?
CNC gives much higher precision (±0.005 mm), automation reduces human error, and it handles complex shapes faster.
Which materials work best for automotive molds?
H13 for long life in mass production, P20 for general use, and aluminum for prototypes (cheaper and faster to machine).
How long does it take to make a mold with CNC?
Prototypes: 3–14 days. Full production molds: 2–6 weeks, depending on size and complexity.
What are the biggest challenges?
Tight tolerances, heat control during machining, and complex geometries. Modern 5-axis machines and simulations solve most issues.
How does this help electric vehicles?
CNC enables lightweight battery housings, motor covers, and precise interior parts — all critical for EV efficiency and performance.
CNC automotive mold machining continues to evolve with smarter tools, better software, and faster processes. It remains essential for high-quality, cost-effective car part production. If you need custom molds or more details, feel free to reach out to specialists.